Calibration
Last updated 2026-05-22
Calibration is how Lyrekos measures the round-trip delay of audio through your specific device — from speaker to microphone. It runs in seconds, stores the result, and uses it to keep everyone in sync during a session. Every participant can calibrate their own device before joining.
You only need to recalibrate when you change microphones or speakers. Otherwise, Lyrekos reuses the stored result automatically.
Before You Calibrate: Position Your Audio Devices
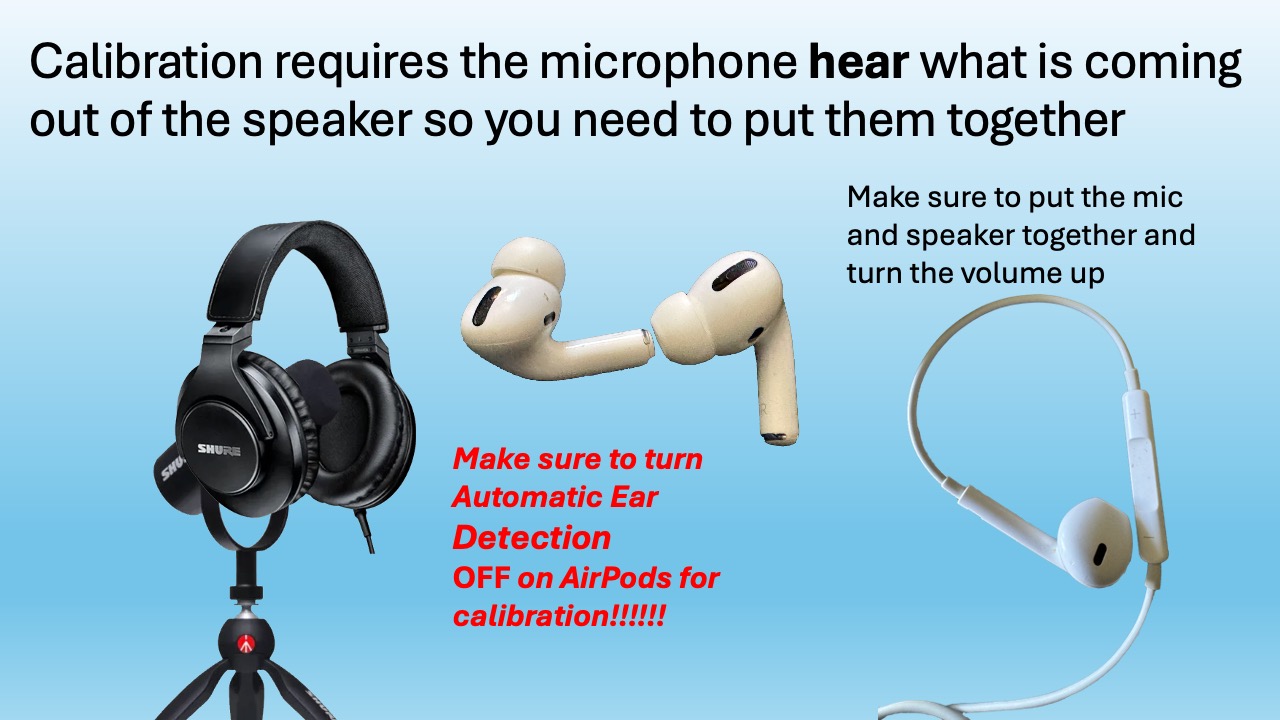
Calibration works by playing a brief tone through your speaker and measuring how long it takes for your microphone to pick it up. For this to work, your microphone needs to physically hear what is coming out of your speaker — so you need to put them near each other.
How to position your audio for calibration:
- Earbuds or wired headphones: Hold one earbud up near the microphone (or bring the mic close to the earbud). Turn the volume up.
- AirPods: Hold one AirPod near the microphone. Turn the volume up. Important: turn Automatic Ear Detection OFF before calibrating — otherwise the AirPod may pause when you remove it from your ear, interrupting the calibration signal.
- External mic + headphones: Hold one headphone cup near the microphone. Turn the volume up.
- Built-in laptop mic and speaker: No positioning needed — they are already close to each other.
Volume matters. If the calibration tone is too quiet, the microphone may not register it reliably. Turn your speaker volume up before running calibration.
How to Run Calibration
Option A: Before logging in
Calibration is step 2 on the login screen at app.Lyrekos.com. You can calibrate before entering your username — useful if you want to verify your setup is working before a session begins.
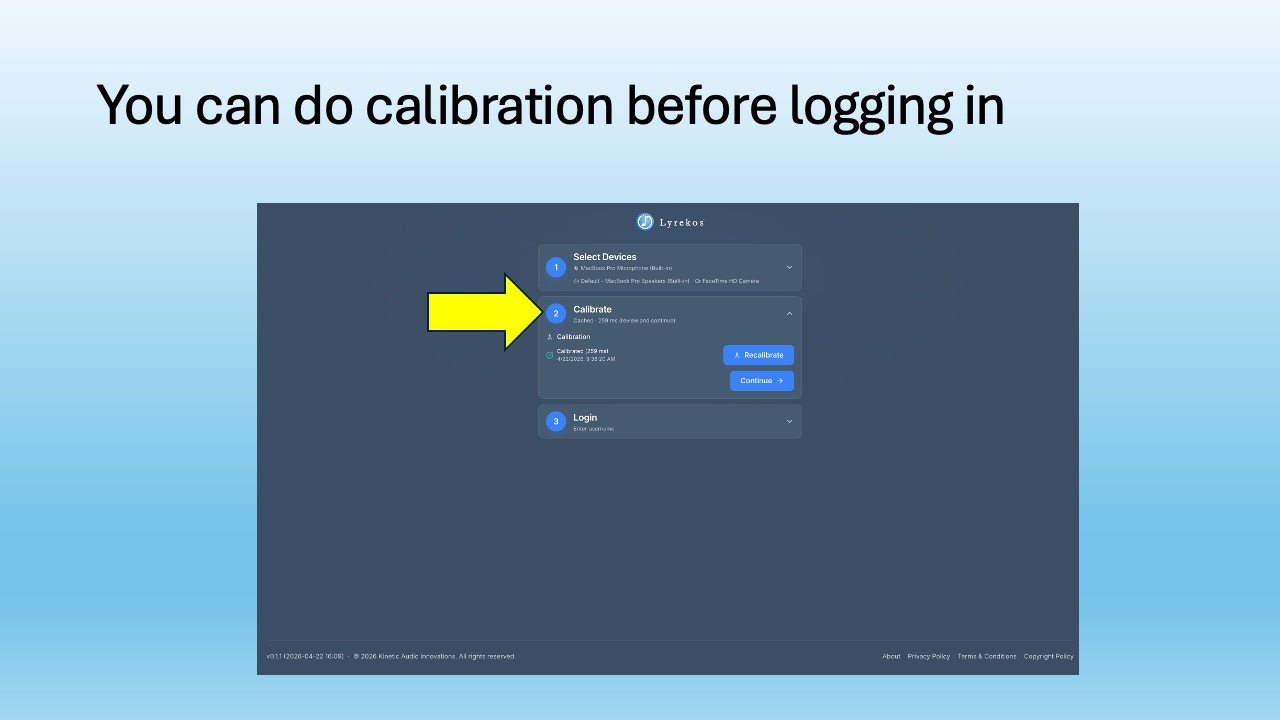
Click Calibrate to expand the step, then click Recalibrate to run it. The result is shown quickly. Click Continue when done.
Option B: After logging in
You can also recalibrate from within a live session. In your Device Settings panel, scroll down to the Calibration section and click Recalibrate.
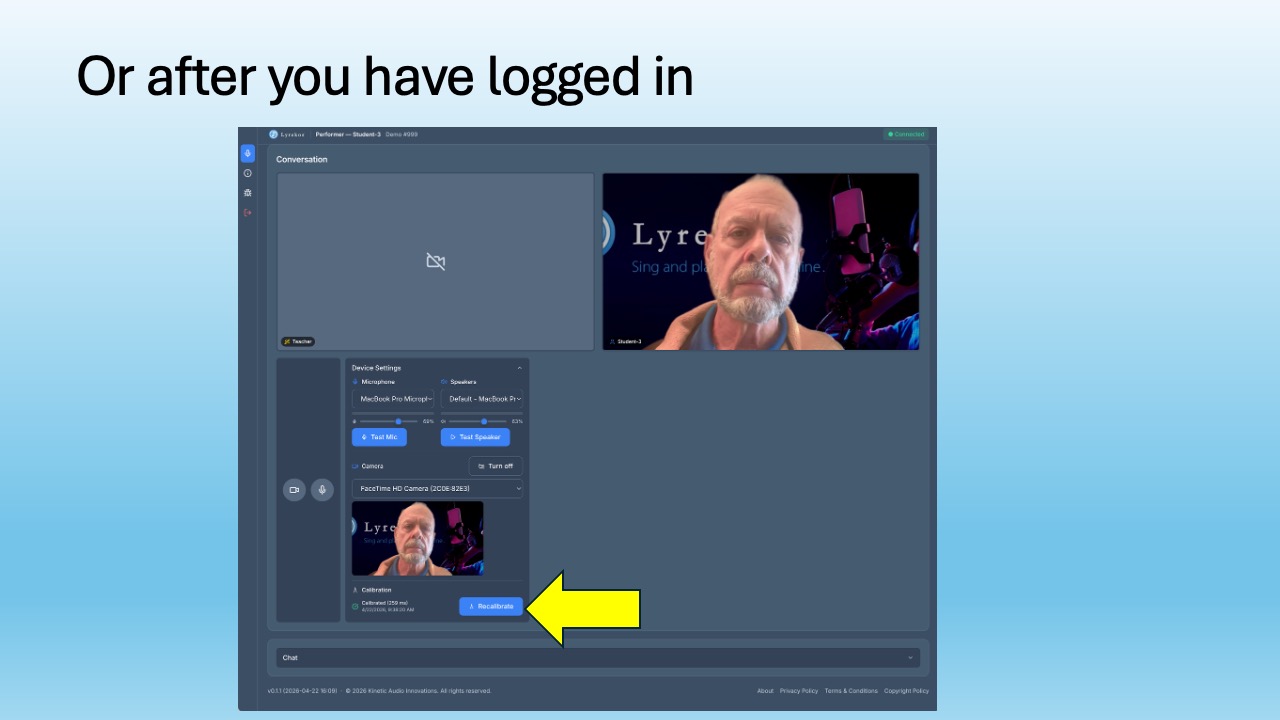
The Calibration section shows your current reading and the timestamp of when it was last run. If something sounds out of sync mid-session, recalibrating is the first thing to try.
If Calibration Doesn't Work
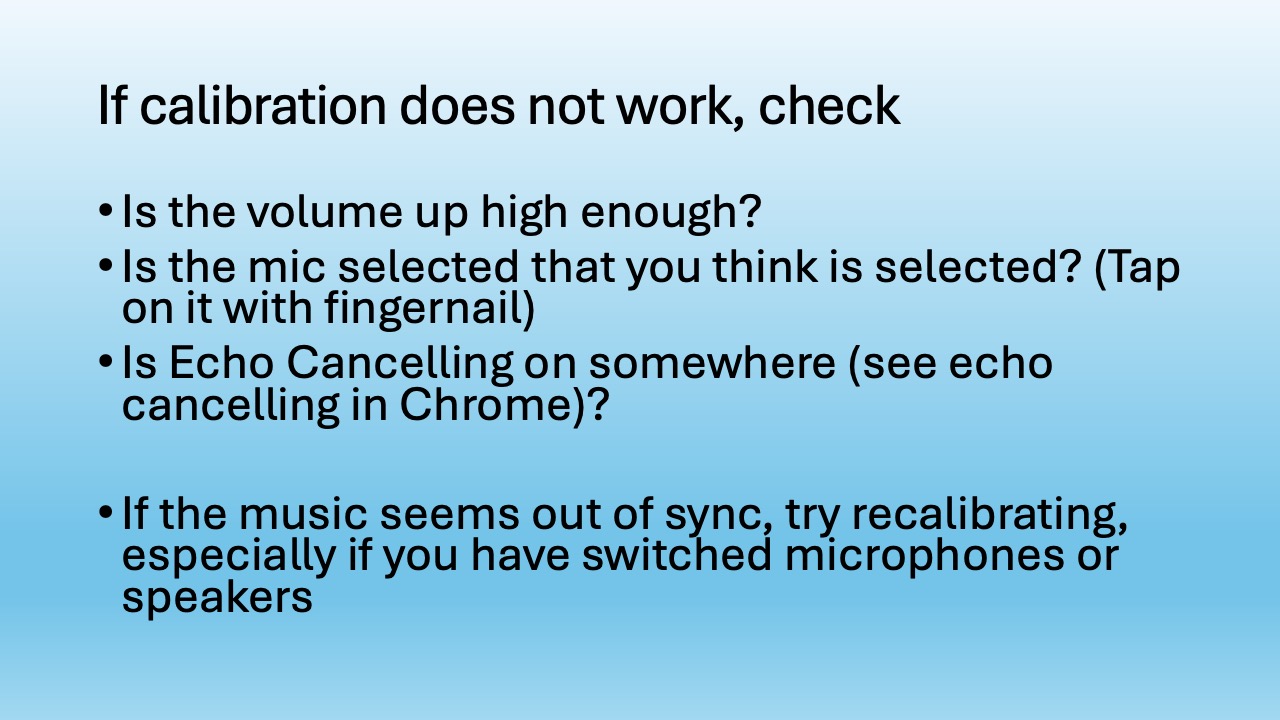
If calibration fails or gives an unexpected result, check these in order:
- Is the volume up high enough? The calibration tone needs to be audible to your microphone. Turn it up.
- Is the right microphone selected? Tap on the mic cable or the microphone body with your fingernail and watch the level meter on the Select Devices screen — you should see it respond. If not, you have the wrong input selected.
- Are you using Chrome with echo cancellation enabled? If so, Chrome's built-in echo cancellation will interfere with the calibration signal. Go to
chrome://flags, find Chrome-wide echo cancellation, and set it to Disabled. Restart Chrome and try again. (See Getting Set Up for details. Other browsers don't have an equivalent setting to worry about.) - Music sounds out of sync after a session starts? Recalibrate. This is especially important if you have switched microphones or speakers since your last session — the stored calibration is tied to your previous device combination.
Next Steps
- Getting Started for the Organizer — running your first session as the host
- Getting Started for the Performer — joining a session as a participant